Tuesday, October 22, 2013

First Freeze/Frost of the Year

Freeze Warning! Freeze Warning!
If you have baby plants, just put out tender transplants, or even not so tender plants....this post is for YOU!  Time to start checking the weather every day for low temperatures.

Be sure and water well Friday to give your plants as much help as you can before the cold weather. Actually, give them a good drink on Wednesday as well since the low is supposed to be 37 on Thursday morning. The more open and exposed a garden area is, the higher chance of frost. In fact, frost typically occurs when the temperature reaches 34 or 35 degrees at Green Meadows.

Saturday morning the low is predicted to be 29 degrees. Your peppers and tomatoes will definitely freeze to a pulp with no protection so be sure and harvest what you can even if they are green so they will ripen slowly in the house. Lettuce won't hold up well without protection. Neither will your sugar/snow peas which definitely need frost protection. You can try to cover the tomatoes/peppers but it depends on how long it is cold as to whether it will work.

If you have brand new seedlings you definitely need to cover and fix the cover so it doesn't blow off and expose the tender growth. If those tender plants are exposed they will get frost bite or even get killed.

This picture shows several different kind of frost covers that were used Fall of 2012
Below are links to several blog posts explaining how to use different methods of creating/using frost covers.

Vicki's Frost Cover Method

Denise Frost Cover Method

Simplest Type of Frost Cover 

Saturday, October 19, 2013

Spotlight on a Superfood - Kale!

Hey Everyone,

Tuscan or Dino Kale grown by
Carol Hanak, Bed 22
Walking through the garden it is easy to spot different cultivars of one of the best superfoods out there, kale. Until the Middle Ages, kale was one of the most commonly grown vegetables in all of Europe with cultivation dating back over 2000 years.  The Dig for Victory campaign during the WW II era highly encouraged the growing of kale as it was easy to bring to harvest and it supplemented many of the important nutrients missing from the diets of those on rations.

Kale is closely related to collards and both are members of the cabbage family.  In fact, kale and collards are actually the primitive headless forms of cabbage.  The splendor of a kale plant is quite diverse and whether a delightful ornamental or tasty edible in the garden, the plants are able to withstand moderate freezes and can tolerate temperatures in the teens before requiring protection from the elements.  However, if hard freezes are sudden, before the plant has had time to adjust to the arrival of harsh weather, it is highly recommended to go ahead and cover.

Red Russian Kale immediately left of the scarecrow
grown by Mike & Sue Plumb, Bed 30
The most popular varieties for the home gardener are Red Russian, Curly Green, and Tuscan or Dino Kale. The Dino Kale is the sweetest and nuttiest of the bunch, with the Curly Green having a tenancy to be somewhat bitter, and the Red Russian falling somewhere in between.  By choosing the smallest leaves to avoid bitterness and allowing the plants to experience cold temperatures, including several frosts, the flavors only improve.  Harvesting after exposure to cold weather and frost ensures that some of the plants starches turn into sugars. Yummy!

For the health conscious, this delightful plant certainly packs a punch and it is easy to see why it tops the charts as one of the world's healthiest and most nutrient rich vegetables.  According to the ANDI (Aggregate Nutrient Density Index) scores, kale shares a three-way tie for being one of the healthiest greens available, outperforming spinach, which places number five on the list.  Per calorie, kale has more iron than beef, more calcium than milk, and 10 times more Vitamin C than spinach.  Heads up Popeye, Olive Oyl is throwing out your spinach and fixing you something even better.

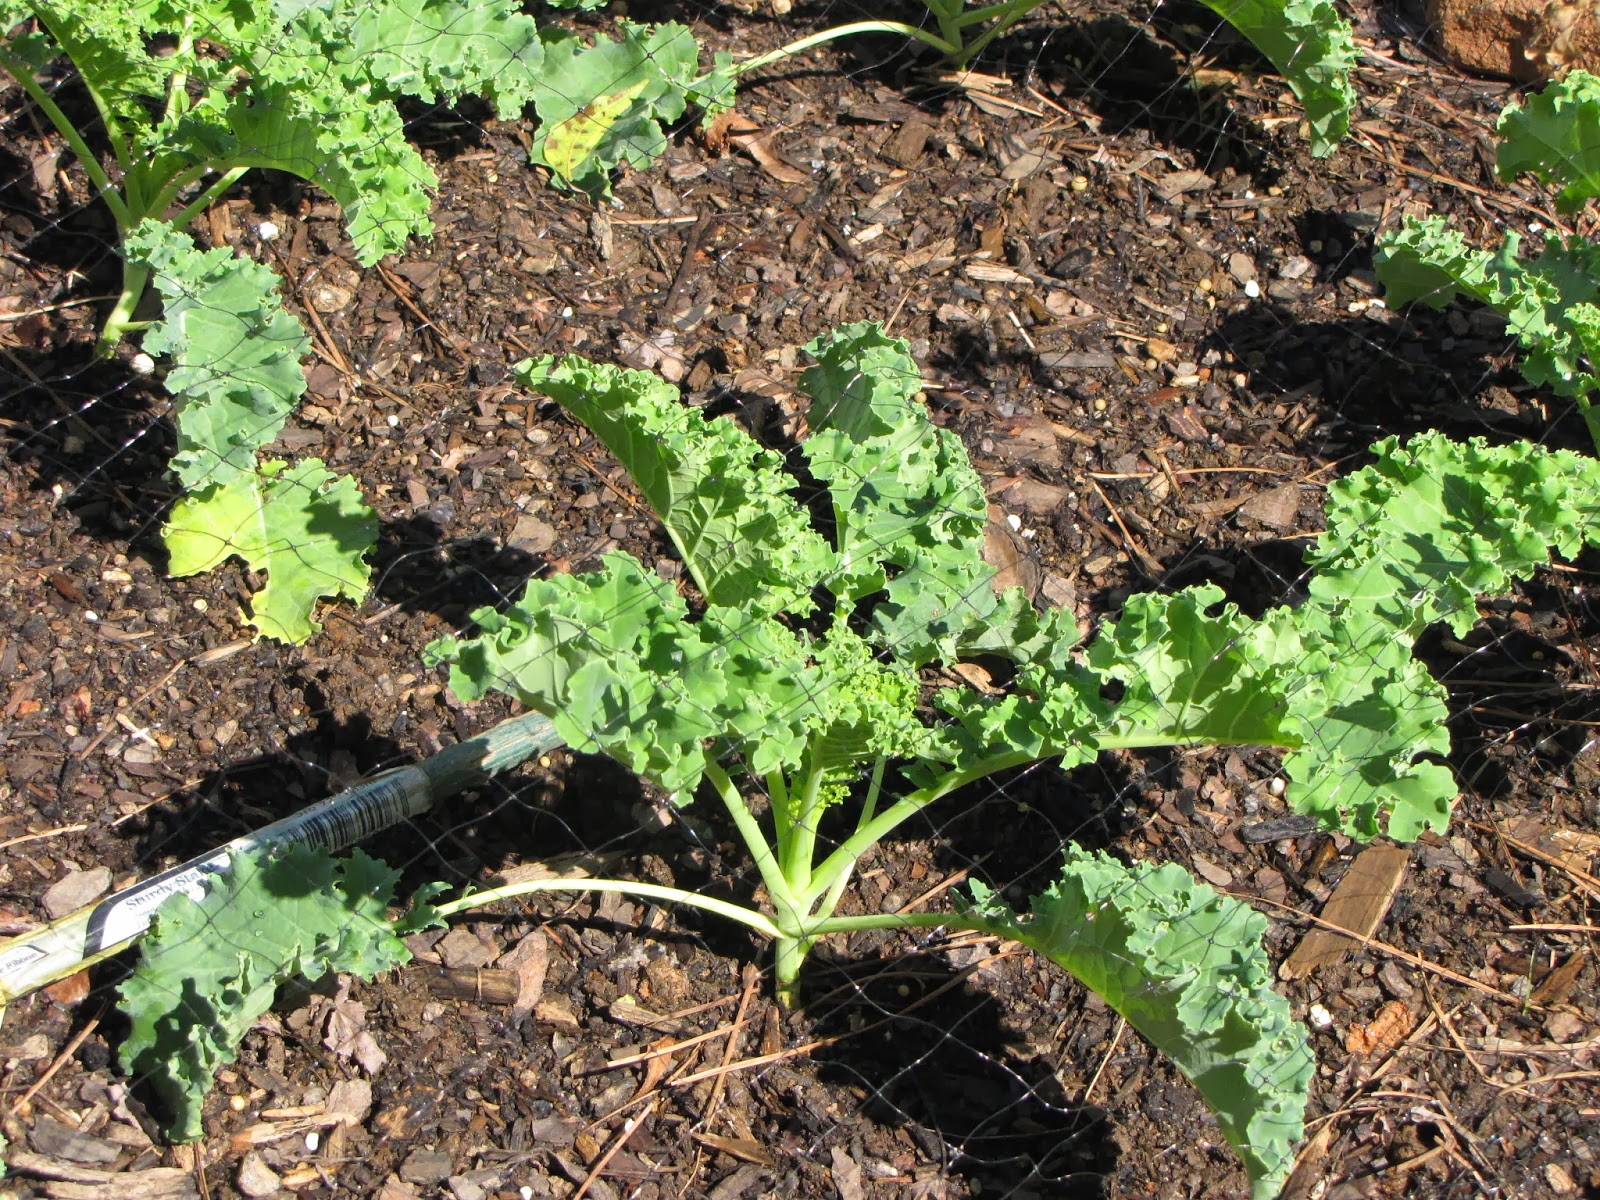
Winterbour or Curly Green Kale
 grown by Vicki Williams in Jane Curry's Bed 2
Scientists have known for years that the high levels of antioxidants found in kale work incredibly well at disarming free radicals before they damage cell membranes and DNA.  In recent years, kale has gained a lot of attention as research now shows its phytonutrients work at a deeper level detoxifying and cleansing the body of harmful compounds.  It also has powerful effects at combating several types of cancer and providing both heart and eye health. Life Extension Magazine (known for publishing sound health information to improve and extend human life) has an excellent article by Stephen Laifer citing the powerful health benefits of kale. It is readily available on their website and is only the tip of the iceberg if you perform a "Google" search for the health benefits of kale.

In doing some research to write this post, kale has amazing value when grown as a staple crop for use in the kitchen.  It is a substitute for spinach in any recipe calling for spinach and utilizing lemon juice when cooking brings out the phytonutrients, further enhancing the health benefits.  It is actually quite versatile and the first link below shows how to tame its bitterness and use it several different ways.  Be careful though, kale chips are downright addicting trust me on this one.  Store newly harvested kale for use as you would fresh cut flowers.  Re-cut the bottom stems and place them in a cup or jar of water.  They will keep 1-2 days on the counter or up to five in the refrigerator.  Just keep in mind, the longer it is stored the more bitter it becomes.

Tuscan or Dino Kale grown by
 Denise Kovacs, Bed 29
I have placed several wonderful links below with descriptions to make navigating easy.  I hope you enjoy learning about something so healthy and easy to grow.  The fall window for direct sowing kale from seed is past; however, transplants are readily available at the local nurseries.  The Dino Kale at Pike's is beautiful and they also have some nice varieties of fresh lettuces currently available. Elrod's also has Curly Green and Dino Kale as of last week.  For those sowing in spring, see me when the time arrives as I have seed available to share.


Superfoods Video, Episode #5:

http://www.youtube.com/watch?v=mNqNg1lYsdA - link to one of the best videos on kale.  Currently a favorite on my bookmark's bar!  Shows a variety of ways to prepare, together with some wonderful recipes, including kale pesto.

General Growing Information:

http://www.care2.com/greenliving/kale-an-easy-beginners-guide-to-growing.html?page=3 - link to a basic growing guide for the care and harvest of kale.

http://www.burpee.com/vegetables/kale/all-about-kale-article10234.html - link to Burpee's Kale growing guide.

Science and Health Related:

http://www.wholefoodsmarket.com/healthy-eating/health-starts-here/resources-and-tools/top-ten-andi-scores - link to the ANDI scores, kudos to kale!

http://www.lef.org/magazine/mag2008/jul2008_Kale-Cancer-Protection-Healthy-Eye-Heart-Benefits_01.htm  - link to the Life Extension Magazine article on the powerful health benefits of kale for those who enjoy researched based data.

http://www.whfoods.com/genpage.php?tname=foodspice&dbid=38 - link to the George Mateljan Foundation, which has a nice article on kale as one of the world's healthiest foods, including recipes.  The Poached Eggs over Sauteed Greens has me re-thinking breakfast!

Happy Gardening,

Denise, Beds 25&29

Monday, October 7, 2013

Last Night's Rain

Tremendous amount of rain!
Hey Everyone,

We received just under two and one half inches of rain in the gauge last night. 

The garden is extremely beautiful today and the plants all look quite happy!


Happy Gardening,
Denise, Beds 25 & 29


Sunday, October 6, 2013

Oktoberfest at Green Meadows Today


Green Meadows Community Garden
 is definitely 
having an Oktoberfest today,
Sunday, October 6th
to celebrate
Our First Annual Oktoberfest
from 4 to 6 p.m.

We’ll have brats, pretzels & pot roast,
plates, utensils and iced tea.

Bring your favorite side dish
or  dessert
and a chair to sit on.


We have door prizes!
You could win a coveted Green Meadows 
Community Garden Water Bottle.
But you have to be here to win.

Friday, October 4, 2013

Never Buy Green Onions Again!

Hey Everyone,

I was checking out some of Larry Hall's gardening videos last evening on You Tube and this is one of the best planting ideas to try.  Some of the free onion sets in the shed would work wonderfully for this application.  The smallest size would be perfect!

Has anyone done this before that he or she could post their results or share any tips?

White SpearThe first link is to growing green onions repeatedly from the same sets or bunches and the second link is to a video of his progress.
 
http://www.youtube.com/watch?v=r8E8V7mgk4w - Link to Larry's video on growing green onions year round from a single purchase.

http://www.youtube.com/watch?v=AokYz6MLihc - Link to a video on Larry's progress and how well it worked.

I plan to try this in bed 25 experimenting with the white, yellow, and red onion sets.  It will be interesting to see if any one variety works better over another.  I do hope you will stop by and check out the progress!

Happy Gardening,

Denise, Beds 25 & 29

Wednesday, October 2, 2013

Free Onion Sets!

Hey Everyone,

Fall planting season is upon us and I thought it would be nice to share some onion sets.  They are located in the shed and you are more than welcome to help yourself.

Yellow and Red Onion Sets

Here is a nice link to growing onions with planting instructions on page two.  If I can be of any help, please don't hesitate to ask.

http://www.organicgardening.com/learn-and-grow/onions-growing-guide - link to onion growing guide.

Happy Fall,

Denise, Beds 25 & 29

Tuesday, October 1, 2013

Rejuvenating The Soil For Fall - Garden Soil Rejuvenation - Option 2 of 3

Ready To Go!
Hey Everyone,

Garden Soil Rejuvenation is one of my favorite methods for restoration and maintenance of the garden, especially when disease and pests have been present.  This method is for those that want to build their soil naturally over time, starve pathogens by rotating crops within the bed, keep their gardens actively producing, and protect the integrity of the soil food web by keeping it alive and nourished.  Many gardeners believe that building good soil over time is the key to success for not only growing strong vigorous plants, but also growing vegetables with greater nutrient densities.  This requires almost a commitment of stewardship to the dirt.

Option Number Two:  GARDEN SOIL REJUVENATION

Garden Soil Rejuvenation reduces the amount of disease pathogens in the soil by using high quality organic matter, mulches, crop rotation, and simple compost teas to solve problems.   It is a form of restoration and maintenance that can be of great benefit if done properly.  The process is simple.

  • Remove a small portion of soil from the bed, preferably from the diseased area.  This instantly removes a substantial portion of undesirable pathogens.  This soil may be re-used as fill dirt in non-vegetable areas. 
  • Remove all plant debris and roots from the bed that can potentially harbor pathogens. Dispose of these properly and do not compost any diseased plant material.  This is also an excellent time to check your soil thoroughly for any undesirable pests and remove as needed. 
  • Add a substantial influx of high quality organic matter from as many different sources as possible. Most references will recommend at least five sources for the optimum number to hit. Keep in mind that all commercial compost is the by-product of one industry or another; therefore, you need several different kinds to achieve the diversity of micro-organisms in the soil in order for the good microbes to fight off the bad.  A strong army of beneficial organisms can suppress a small army of harmful ones. Homemade compost is always the best, but in its absence, there are several excellent products out there to utilize.  If memory serves me correctly, Gardens Alive even carries one especially designed for fighting blight pathogens in the soil.
  • Mulch all new plantings to provide a ground to plant barrier against disease and to provide food for all the good soil organisms you have just added.
  • Rotate all new plantings to starve any remaining pathogens naturally.  Each year you are able to rotate a crop to a different place in your bed affords more protection against the same diseases returning.  As an example, Early Blight starts as a soil-borne pathogen and tomatoes, peppers, eggplants, and potatoes should not be grown in the same spot next year. One year of rotation is some protection, two years more, and so forth.
  • Use compost teas to inoculate the soil and plants as they contain high concentrations of beneficial microbes that will compete with pathogens for food and space.  Teas form protective barriers around the roots of plants and work incredibly well as a barrier on the leaves.  In addition, they have beneficial nutrients that go to work immediately providing food to nourish your plants at any stage of growth.
  • Fertilize appropriately.  Remember that organic fertilizers with lower NPK numbers are safer for the soil food web. Avoid over fertilization as this can have an adverse effect by tying up the exact nutrients your plants need to flourish as well as cause herbicide injury.
Pros:  Encouraging soil life in addition to crop rotation is the easiest most dramatic way to improve and solve many garden problems. Enhancing the soil with an influx of organic matter will provide instant results and go a long way to building a foundation for producing healthier plants with greater nutrient densities.  Using this method over time will significantly reduce your pests and disease problems.  Much as you are able to fight off the common cold when your health is at its best, plants are better able to withstand pests and disease pressures when they are at their optimum as well.  

Cons:  The only cons to this method are the additional costs associated with purchasing organic matter.
Most bags of organic matter are priced between $5.00 and $8.00, however, by home composting, buying in bulk, utilizing free coffee grounds and leaves, etc., you are able to reduce your costs significantly.

The links below are for your convenience and contain valuable information from previous posts on prepping garden beds and making simple compost teas.  I do want to mention that the soil recipe used in the linked post is not enough organic matter for the amount of disease many experienced in their gardens.  It is more of a standard prep recipe to build the soil when no disease has been present.  For example, this fall I utilized much the same ingredients but intensified the amounts to add a greater influx of microbes to the bed. The addition of fertilizer remains the same at standard usage rates.

http://greenmeadowscommunitygarden.blogspot.com/2013/03/prepping-garden-beds-for-spring.html - link to prepping garden beds.

http://greenmeadowscommunitygarden.blogspot.com/2013/04/making-worm-tea.html - link to making simple teas.

For anyone who likes to do additional reading, Teaming with Microbes by Jeff Lowenfel & Wayne Lewis is an excellent technical reference on the soil food web and the importance it plays in your garden.

Hope this is of great help,

Denise, Beds 25 & 29

Friday, September 27, 2013

"Stitches" of Green Meadows Preserve

The above three photos are of the Green Meadows Preserve House, Garden and Orchard taken in February, March and September of 2013.  Standing in the same spot, 6 images are 'stitched' together to make each photograph using a wide angle lens, a tripod with both bubble levels level, a remote shutter release, and f16.  (Except I think I forgot the f16 part today and used an f11 for the bottom photo because it's not as crisp.  Whatever . . . that's a lot to remember from six months ago.)  All that's needed are 'stitches' of the leaves turning (Nov.) and snow (Jan. 7th - that's my prediction for the first snow of 2014.)  I wonder if it's possible to do a photo with a full moon lighting the landscape.?.  If you see me out there one night, honk!

Monday, September 2, 2013

My Little Compost Pile Pays Off !

One wheelbarrow of compost = more than $20 of bagged soil!  Next year the payoff will be quadrupled because I've doubled the compost space and both hubby and I swear we'll recycle triple the kitchen waste.

Just think what I could accomplish if I just tried!  Thank you, Dr. G!


Saturday, August 31, 2013

Rejuvenating The Soil For Fall - Biofumigation - Option 1 of 3

Hey Everyone,

Well hard to believe the calendar says it's almost September but coupled along with a few of the chiller evenings and we have a sound reminder that fall is just around the corner.  Many are starting to pull the diseased plant material from their gardens and are taking the necessary steps to prepare the soil for a healthier fall harvest.  With the amount of pests and disease, we experienced over the summer, it is more important than ever to take sound steps now for a healthy fall garden.
This is some nice looking soil!

The easiest way to enhance the health and productivity from your garden is to improve the growing medium or your soil.  Whenever disease and pests have been present, it is important to take steps that break the cycle of the problem for future seasons to come. There are actually three options for re-building your bed and putting pests and soil-borne pathogens at bay.  Each of these options have their own pros and cons so decisions should be made on what works the best for you and what you feel the most comfortable with.  As you see the terms in the next few posts to come, please take the time to educate yourself in order to make informed decisions for a healthier garden.

Option Number One:  BIOFUMIGATION

Biofumication is a process whereby commercial farmers use a synthetic chemical fumigant to kill certain types of soil-borne pathogens.  For the organic home gardener this process is adapted with an all-natural alternative called biofumigation.  Biofumigation utilizes the cover crop of Mighty Mustard to release natural glucosinolates into the soil.  The high levels of glucosinolates found in Mighty Mustard are the chemical properties of the plant that make certain members of the brassica family spicy.  These chemical properties are known to mimic synthetic commercial fungicide treatments and destroy several soil borne pathogens. The glucosinolates are also the basis of many commercial pesticides available to large-scale growers.  In addition, cover crops are of great benefit for adding pure organic matter to the soil.

Pros:  When it comes to using cover crops, the pros are plentiful and live up to the claims they tout if kept healthy and disease free.  For small home gardeners cover crops provide a solution in areas where it is difficult to incorporate long-term crop rotation strategies.  By utilizing the different types of cover crops based on your specific needs and keeping the levels of beneficial microorganisms high and productive, your garden will have a chance to flourish even with pathogenic fungi and bacteria present in the soil.  If you choose to forgo the planting of a fall and winter vegetable garden, this may be an excellent option to re-build your soil.

Cons:  The cons are only a few.  The amount of time it takes to grow a cover crop ties up the planting site for an extended time, which can interfere with planting schedules.  Cover crops can turn a garden into a weedy field if ignored, so do expect extra pests for dinner if neglecting your bed.  For example, the Mighty Mustard mentioned above is known to attract flea beetles.  If you do not currently have flea beetles in your bed, this particular cover crop would introduce them to you.  However, it can work to your advantage as a trap crop if using cover crops on one side of a bed only.  Lastly, would be choosing the wrong type of cover crop based on your particular needs.  For example, if you needed a crop to fix nitrogen into the soil and instead choose one that is nutrient scavenging, it may not accomplish what you set out to do.

As a special note, Mighty Mustard is excellent at destroying pathogens & pests from the soil; however, I cannot find the pathogen that causes early blight on any of its lists of diseases kept at bay.

For those that would like to do some additional reading on biofumigation and cover crops, the links below are for your convenience.

http://www.thegrower.com/issues/the-grower/118501009.html - excellent article on biofumigation.

http://www.mightymustard.com/varieties - A link to the line-up of Mighty Mustard varieties.
http://www.mightymustard.com/uses - link to specific uses for each variety.

http://www.organicgardening.com/learn-and-grow/cover-crop-basics - link to general cover crop information and types.


Johnny's Selected SeedsJohnny's Selected Seeds Company carries a full line of cover crop seeds under the sub-heading of Farm Seed on their website.

Option Two & Three to follow.................

Happy Gardening,

Denise, Beds 25 & 29

Monday, August 26, 2013

Weekly Calendar August 26 - August 31

Tuesday August 27
6:30 pm - 8:30 pm
Tonight's Bed Time Talk:
Integrated Pest Management (aka IPM) will start at 7:00 pm sharp
Learn how to find and smack down those pesky bugs quickly.
 
Master Gardener's and Gardeners will also be available for advice and help before and after the talk.

Thursday August 29
8:30 am - 9:30 am
Master Gardeners in the Garden

Tomorrow night, Tuesday the 27th at 6:30 we have another great program planned for our Bed Time Talk/Walk. Denise and Vicki will be telling you all about IPM or Integrated Pest Management.  If you have had problems with insects or disease this year, you will want to hear this program.  They will go over strategies for a successful Fall gardening season as it is time to get your bed ready for Fall. Hope to see at the garden. 

Monday, August 19, 2013

Weekly calendar Aug 19 - Aug 25

Tuesday August 20
6:30 pm - 8:30 pm
Tonight's Bed Time Talk Solarizing Your Soil will start at 7:00 pm sharp

Following the talk, Carol will be presenting the upcoming changes in garden practices to achieve our goal of having an organic and healthy environment to grow vegetables and herbs.

Master Gardener's and Gardeners will also be available for advice and help before and after the talk.

Thursday August 22
8:30 am - 9:30 am
Master Gardeners in the Garden

Saturday August 24
9:30 am - 10:30 am
If you missed the Tuesday talk, Carol will be presenting the upcoming changes in garden practices to achieve our goal of having an organic and healthy environment to grow vegetables and herbs.

Sunday, August 18, 2013

Cosmos - a bright, airy cottage style plant that attracts pollinators

Cosmos is one of the current stars in the Pollinator Border  in front of Bed #15. Last year it was deliberately planted, this year it came up from seed.  This is a plant that loves benign neglect. Benign neglect does require you to water but other than that, it does fine on its own. It doesn't get diseased, attract pests, etc.

You very seldom find the plants  for sale at the big box stores but seeds are easy to find at most stores or you can order them.  Sizes range from dwarf (1 - 2 foot tall) up to huge heights of 6-8 feet tall. They also come in a wide variety of colors - whites, pinks, purples, yellows, oranges and bicolors. I love them all because no matter which color you have, they are a fun plant.

When I was looking at the cosmos in the border on Thursday morning I noticed 4 or 5 different kinds of bees were using it as well as a variety of small butterflies. This particular butterfly is a skipper but I don't know what kind it is.
 
One reason this flower is such a good one to have in a pollinator border is because it is flat which allows more species to easily land on it. Another reason to grow it is because it blooms continuously.
 
If you aren't trying to collect seeds, just clip off the spent flower heads to make the plant devote its energies into making more flowers. But I do recommend you collect and dry some of the seeds so you can grow more  cosmos next year. The seeds are very easy to store and very easy to start next year. You can start new plants inside or just sprinkle them on the ground (after pulling the mulch away from the area you want them to grow.)
 
Spent flower head, almost spent flower, seeds ready to harvest

Friday, August 16, 2013

Brown Marmorated Stink Bug

During our first Bed Time Walk and Talk on August 6, we found this little critter on a tomato plant. (Yes, another tomato problem. Sigh......) Denise knew it was a nymph but we didn't know what it was a nymph of.

Last night, I was looking at a blog I follow and what do you know...they had a picture of this exact same bug - Brown Marmorated Stink Bug.  It definitely isn't a good bug for us to have, especially in the numbers that we have.  Denise says she has been catching 15 - 20 nymphs every day at the garden to take home to feed her praying mantids. When I was reading up on them, one article I read said they were a favorite food of praying mantids.

Do you remember all those brown armored looking bugs that were in the shed all winter and early spring? I do believe this is one of their babies after looking at the pictures of the adults.

Unfortunately for us, the harm they cause is vast. They love to pierce and suck juices out of fruits and leaves of beans, tomato, okra, corn, pepper, eggplant, etc. Where they pierce the fruits and leaves they leave pimples, warts and discolored areas. Have you ever picked a tomato that had cloudy white colored spots on it? This is called cloudy spot and is what happens after the fruit has been pierced by a stink bug.

Here are several links if you want to learn more about them :
Stink bugs
This link has a description of what harm they cause, recommendations of how to deal with them and where they like to hide (like our shed in the winter).

Pictures of all stages of growth of brown marmorated stink bugs
Egg stage through adult. Watch for and kill all stages!

Brown Marmorated Stink Bugs with video
Has the exact same nymph picture I have as well as a little video showing the bugs crawling around on corn, piercing and sucking the juices out of individual kernels of corn. They like to pierce and suck the juice out of lots of different veggies besides corn.

Wednesday, August 14, 2013

This is my bee hive

 
Now this isn't your traditional bee hive but it is mine. For the last 15 years, we've had bees living in the shed next door. Some years they have a very active swarm, some years not. This year they started off slow, disappeared, then a new group moved in and the swarm has slowly grown. They don't have enough space to all fit in so I see tons on the outside of the shed.

The odd bit about this year's swarm is that it doesn't clump together on the boards closest to the hole they go in. Usually they are really close and you can't see the boards at all.

They were removed once from the shed but they came back. When the bee lady came to remove them it was very fascinating to watch. She pulled the wood siding off, broke off the honeycomb, put it in plastic tubs and also vacuumed up/collected all the bees as she went along.

I enjoy having them and as long as I don't aggravate them everything works out. Luckily the shed is in the back corner of the yard so it is easy to avoid.

Monday, August 12, 2013

Taking out the tomatoes - Boo hooo....

I have conceded tomato defeat for the year. I probably would have struggled on a bit longer but since I was going out of town I took all the tomato plants out. Even though there were tons of green tomatoes coming along. Boo hoo hoo...

Between the rain causing disease to spread faster than a sneeze, leaf footed bugs and brown marmorated stink bugs piercing and sucking the fruits AND those cute but dreadful 4 legged bushy tailed rats aka squirrels stealing my tomatoes, it has been a battle this year. Last year it was just the birds pecking the fruit. True I lost a few to the birds this year as well but the squirrels got lots more than the birds. I'd already started picking my fruit when it was half ripe to keep the squirrels from getting them! No completely sun riped tomatoes for me dang it.

After I stripped my plants of tomatoes, I had 3 huge cookie sheets of tomatoes ripening. I think cherry tomatoes tend to ripen faster than grape and Roma tomatoes. As you can see I have quite a few Sun Gold and Sweet 100 cherry tomatoes in various stages of ripeness. And yes...I do sort my tomatoes into categories. Grin. It is easier to monitor when they are ready to eaten.

Because I was growing cherry tomatoes my vines were huge. To make it easier to remove I took my loppers up to the garden to cut the vines into manageable sections. I started on the outside and just pruned, pruned and pruned. Then I stuffed every piece into bags to haul home. I save the bags that my sunflower seed comes in because they make great bags to haul home diseased garden debris.

Why do I want to take home all my tomato parts? Because they are full of disease spoors. If I put them in the compost bin I would just be spreading more disease to everyone else.  I cut and took the tomato parts home the night before the trash went out so they wouldn't be sitting around long in my trashcan at home.

The other thing I did was try to pick up every single piece of leaf, tomato stem, etc. that fell to the ground. I even combed through my rosemary looking for diseased bits that had fallen off that I hadn't seen before. At least the air smelled good while I was moving the rosemary around.

The new green stems and tomatoes were easy to find. It was harder looking for old, dried up tomato leaves in my leaf mulch. But I did take my time doing that because I want to remove as much contamination as possible. The next step is cleaning up my equipment and cages.
 
Every time you cut into diseased plant material, you put bacteria on your clippers. Technically you should wipe your pruners after every cut. In practice, I tend to wipe my clippers every 10 cuts or so. But I DO try to make sure that I really wipe them clean before I move to the next plant.  Once I get my clippers home I get a new clean wipe and really go over the clippers well.
 
It is easy to clean my hand pruners and loppers with disinfecting wipes. It will be harder to clean the cages.  You can use disinfecting wipes or mix a solution of bleach with water (1 part bleach, 10 parts water) and wipe it all over your trellis, cage, stakes, etc. You can use a rag, paper towel, sponge brush, whatever works for you. Just do make a point of thoroughly cleaning everything before you put it up for the year.
 
If you do this on your grass, be sure and flood the area with water to dilute the damage the bleach could cause.  Bleach kills plants, beneficial microbes and worms in the soil.

Saturday, August 10, 2013

What's in Your Dirt?

It is time for another informative Tuesday evening Bed Time Talk. Master Gardener Rita Buehner will be giving the Bed Time Talk this week and will tell you all about beneficial nematodes and how they can help you have healthier soil which will improve your yield by attacking some insects that love to eat our veggies.  Do you remember the cabbage loopers last year?  If you want to learn how to improve your gardening experience, join us Tuesday evening.  Rita's bed talk begins promptly at 7:00 p.m.

Weekly Calendar August 11 - August 18

Tuesday August 13
6:30 pm - 8:30 pm
Tonight's Bed Time Talk What's in Your Dirt will start at 7:00 pm sharp
Master Gardener's and Gardeners will be available for advice and help
 
Thursday August 15
8:30 am - 9:30 am
Master Gardeners in the Garden

Friday August 16
8:30 am - 10:00 am
Walk the Bluebird Trail with Jim
Meet at the garden to begin the walk at 8:30 am
Wear walking shoes and bring water to drink